Pencil Gestures

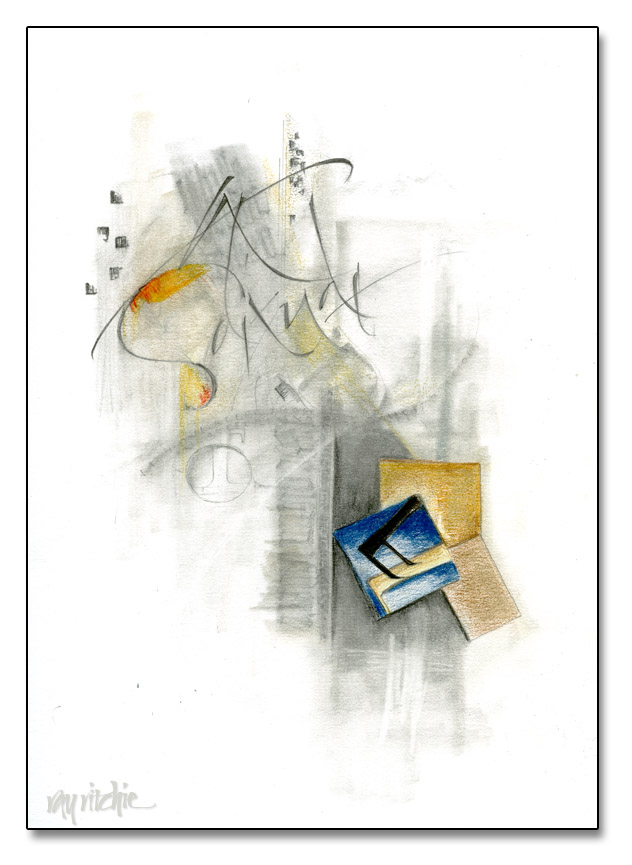
Last week I received my copy of Yves Leterme’s new book, Thoughtful Gestures, and I’ve been thoroughly enjoying reading it. I met Yves a couple of years back when he was teaching a class at a Camp Cheerio Calligraphy Workshop (I was in the other class, taught by Denis Brown), and I really resonated with the work he was doing and the work his students were producing. So for the past week or so, I’ve been playing around with gestural writing, trying to get more of a free feel to my work. A lot of my practice has been with a pointed brush and sumi ink, but as usual when I’m playing with something new, I also have done a lot of pencil work. Here’s an example, using graphite and colored pencils:

Solitude

Yves talks a lot in his book about his process of working with gesso, and how he will often wash things off and re-work and paint over portions of the piece as it develops. In the piece above, I did something similar by overwriting, smudging, and erasing. I want to continue to experiment with this process, and try the gesso process as well. More to come, I hope.

Folded calligraphy

A few days ago, in browsing the Roku for something interesting to watch, we happened across the documentary Between the Folds, by Vanessa Gould. This is a short film about the art and science of paper folding. I have played a little with origami in the past, but the level of skill and the intricacy of the patterns shown in this movie was so far beyond anything I had seen before that I felt an irresistible urge to pick up a sheet of paper and start folding.

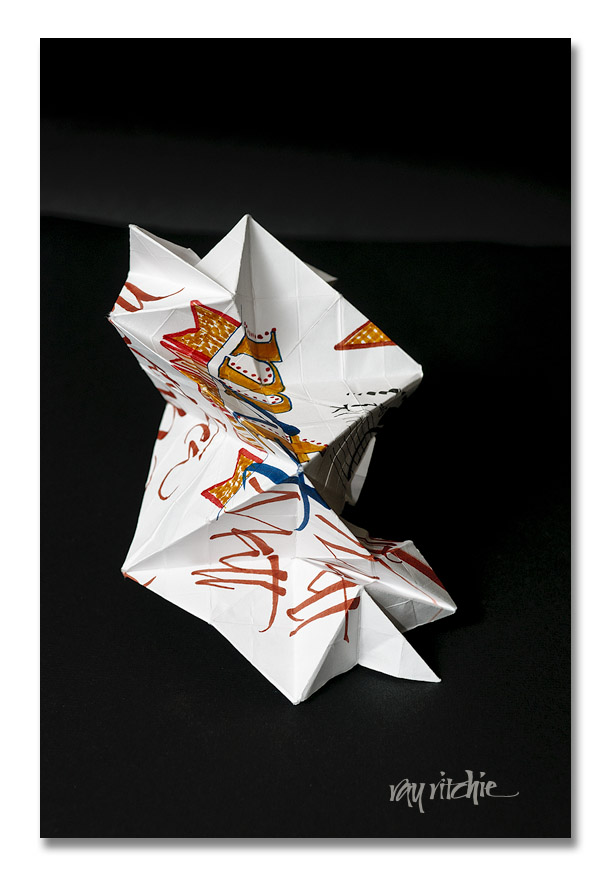
As it happened, the closest sheet of paper to me was a piece of scrap paper on which I had been sketching ideas for a envelope design for my nephew Matt’s upcoming birthday (Happy Birthday, Matt!). I just started by making semi-random folds, not trying to create anything in particular, but folding the sheet into a fan pattern in one direction, then un-folding it and doing the same with the sheet turned 90 degrees, and finally, I started throwing in various folds that I remembered from simple origami patterns I had learned years ago. My main thought was just to create something with enough complexity of facets and textures that it might enhance or add interest to the calligraphy. Here’s a photo that suggests what can emerge from this process:

This was just a preliminary experiment, but the result intrigues me, and motivates me to want to learn more about the current state of the art in paper-folding. If any reader has had experience in combining calligraphy and folding, I’d be particularly interested in hearing from you!

Four keys

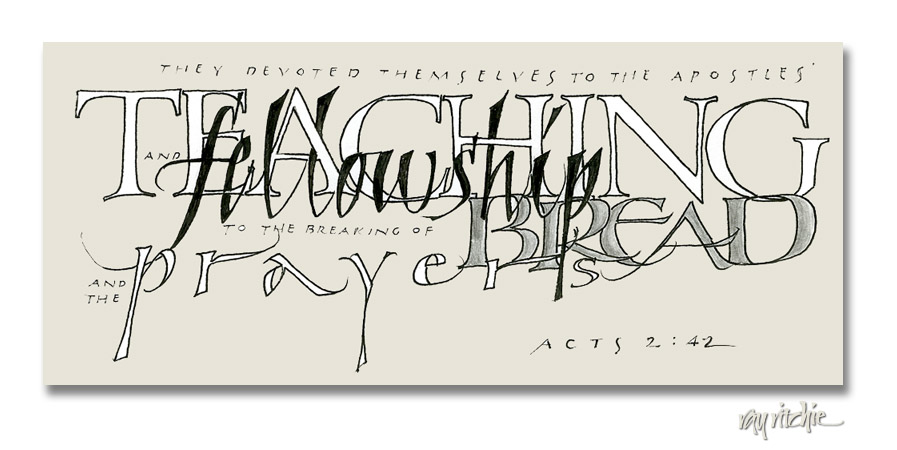
The sketch below is essentially another callidoodle, as it’s just a cleaned-up version of a quick sketch done during Sunday’s church service. The lectionary passage for May 15 was the portion of Acts where Luke reports some of the key factors that led to the rapid growth of the early church following Pentecost:

Pastor Ramon pointed out, though, that none of the four items emphasized above are really “key” in the absence of the word “devoted.” It was because of constant, intense devotion to these four items that the community grew.

My usual doodling tools for the callidoodles are just a pencil and a fine-point black monoline pen, but it’s hard to do layered calligraphy in pure black and white. My original thought was not really to layer, so much as to intertwine the four key words, as you see in the words “Teaching” and “fellowship.” When I brought the sketch home and looked at it some more, though, I decided that there wasn’t enough separation of the words for legibility, so I added a half-tone for the word “bread” using a pencil. If I were to further develop this sketch into a more finished piece, I might run the sketch above across the bottom of the page, and then feature the word “Devotion” as an emphatic vertical element. I’ll have to think further about that.

Happy 90th, Bill!

My father-in-law will be 90 on April 16th, and the family is throwing a party to celebrate, so I volunteered for the job of designing the invitations. Now that I’ve shipped the design to the printer, I thought I should post it here.

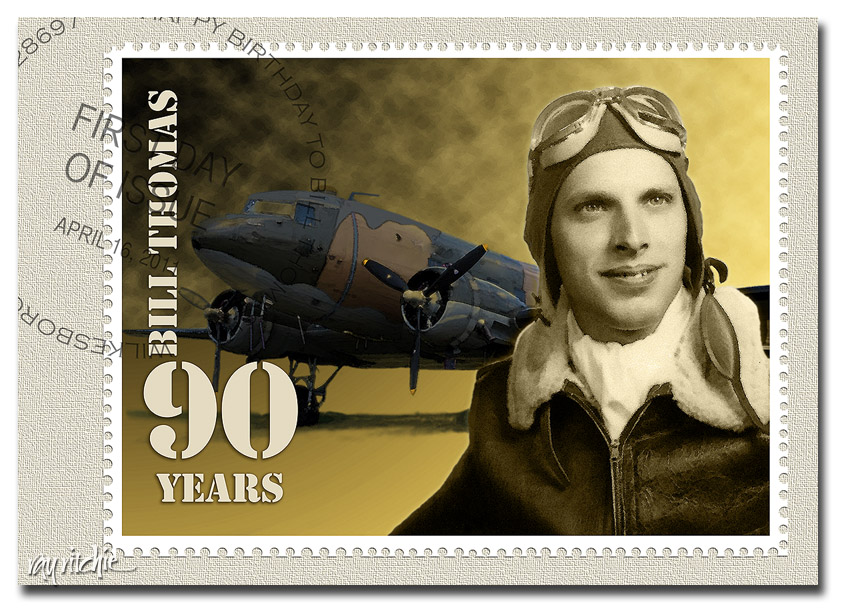
Bill was a C-47 pilot in World War II, and after the war he went to work for the U. S. Postal Service, eventually becoming an assistant postmaster. Since he has always loved stamps, I decided to “issue” a commemorative stamp and First Day Cover for his birthday. Here’s the front side of the invitation:

The photography here is not mine, and unfortunately, I don’t know who did the originals. The portrait was apparently done by an Army photographer when Bill graduated from his pilot training and received his lieutenant’s commission. In addition to the usual problems of restoring an old photo (cracks, scratches, a tear, and a lot of “foxing,” or spots of discoloration), this one had an additional oddity: there was some sort of metal brace behind his head, apparently holding him in a fixed position for the shot. I assume this may have been a production line kind of thing, perhaps for identity cards: each new lieutenant steps up, puts his head in the brace so that he’s exactly lined up for the camera, and the photographer snaps the shot – no retakes, no fiddling with multiple poses. What this meant to me was lots of Photoshop work with the Spot Healing Brush to take out the blemishes,  extract his photo from the background, and remove the offending metal brace with the eraser tool. The original photo was black & white, but I changed the coloring to more of a sepia tone, as I wanted to use a color scheme of yellow, brown, and olive to suggest the era. The original photo was just a head and shoulders shot, so I recreated his right arm for the stamp, to give a more natural look when the portrait was placed against the background.

The C-47 photo started as one of dozens of similar shots that I found on various websites discussing the history of aviation and WWII. None of them were large enough for my purposes, though – I needed to make a 4×6 invitation at 300 dpi, and I also wanted to create a large poster to be used as a decoration at the party. When I enlarged the largest photo I could find to the size I needed, it became very pixelated, blocky, and generally ugly. So I just used the original photo as a base pattern for color and general shape, and the painted in the details in Photoshop using my graphics tablet. I suspect that Bill’s original plane was solid khaki in color, but I saw lots of different color schemes in all the shots on the web, so since I was having to create a painting anyway, I used my artistic license and changed the color scheme to something that fit in with my selected color palette. I didn’t paint in the plane’s identity markings, since I didn’t know what markings would have been appropriate to his squadron, and I didn’t really want too much detail in the background, anyway.

The sky was created using the gradient tool, followed by Filter>Render>Clouds to create the storm clouds behind the nose of the plane. Finally, since I wanted the artwork to look like postage stamp art, and not a photograph, I used the Watercolor filter to create more of a painting effect. There’s a subtle touch of “Outer Glow” behind the portrait, just to give it a bit of separation from the background.

The finishing touches included the stencil font to suggest a typical utilitarian Army approach to lettering, and I tried to select fonts which resembled typical postmarks for the First Day cancelation. The perforations around the stamp were done by selecting portions of the border with the circle selection tool, then deleting the selection. Actually, many commemorative stamps today don’t even have perforations, as they’re usually adhesive stamps on a waxed backing material – but I like the look and texture of perforations, so I decided Bill’s stamp would have them. Finally, I placed the stamp on a cream-colored “envelope” background, and gave it a woven texture.

One nice benefit of transforming the photos into digital paintings was that the design enlarges really well. The original details have been somewhat obscured by the painting effect, so when I enlarge the image with Photoshop’s Image Size menu, it’s almost impossible to tell what details were in the original painting, and which have been interpolated. The fonts were left in separate text layers, and they enlarge perfectly as crisp, sharply defined letters, which actually seems to enhance the postage stamp look. It looks good on my 16×24 print, and I’ve tried a “virtual print” on the computer screen at 24×36, which still seems to hold up well.

Happy Birthday, Bill – we’re looking forward to the party!

About that molding

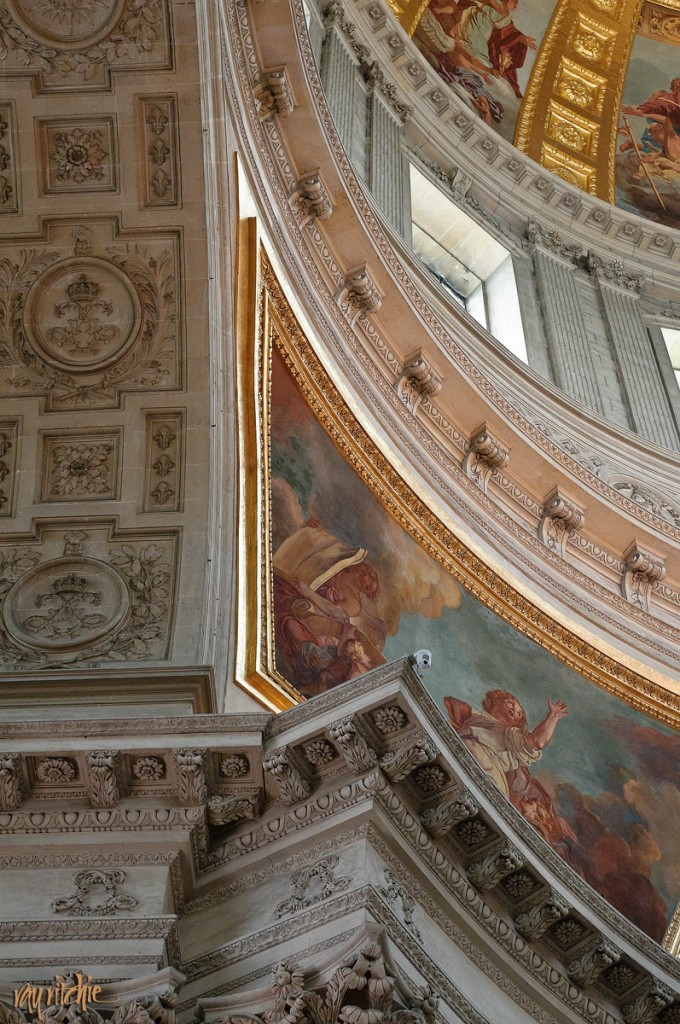
I mentioned in the previous post that I started my sketch with a drawing of a molding from Les Invalides, in Paris. For the curious, here’s a photo:

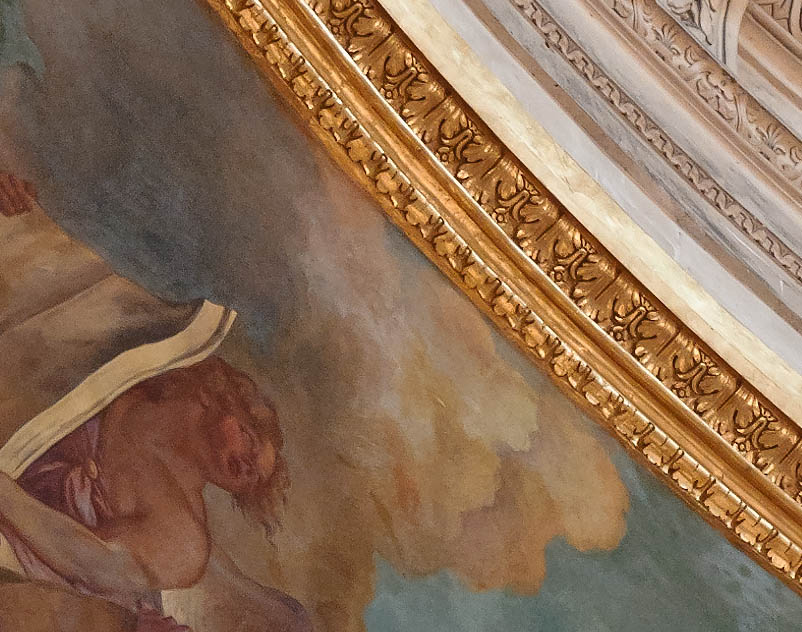
And here’s a crop, showing the molding in more detail:

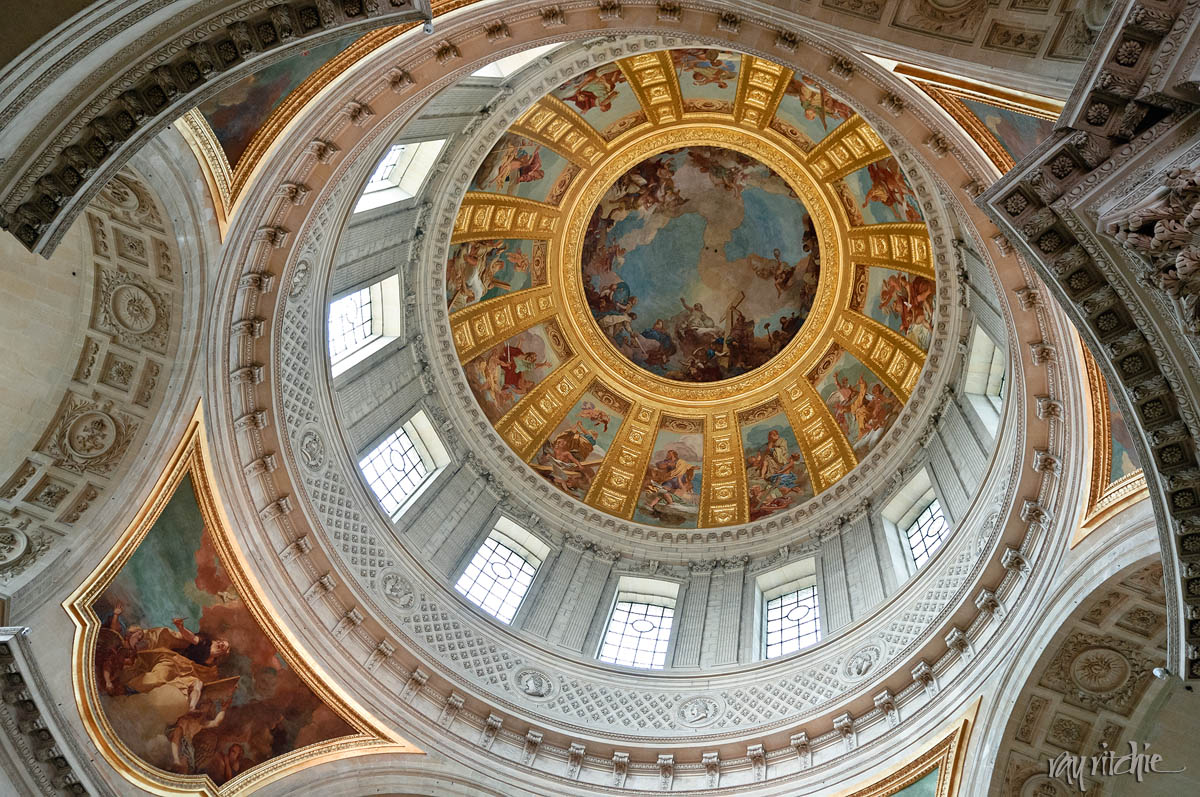
This is all part of the amazing detail of the dome of the Église du Dôme, which is directly over Napoleon’s tomb. Looking up to the center of the dome, you see this view (click on the image, and then click on the “full size” link, and you’ll be led to a much larger view):

The interior of the chapel dome in Les Invalides

I’m not sure why that particular molding caught my eye – I think I was just impressed that there was so much detail in a decorative element that was so high up, where most viewers would never even notice it. It says something to me about the dedication and love for his craft that the framer must have had.

Pencil Doodles

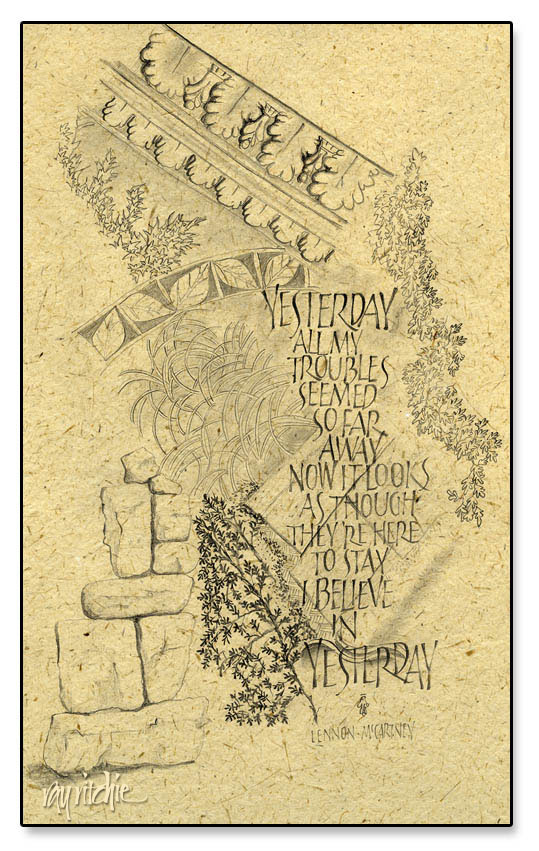
I’ve been reading a couple of books on art and drawing technique, and spending some time each day sketching on my lap board. Most of these sketches are really just doodles, and I’ve been concentrating on particular patterns and technique, rather than making any real effort at design. But I’ve been finding that interesting designs are emerging nevertheless, with no particular effort or conscious thought on my part. The background of the sketch below started with my copying the design of a piece of molding from a photo I had taken in the chapel at Les Invalides in Paris (site of Napoleon’s tomb). Then I began adding random other elements, with no intention of creating a unified piece. But when I looked at the page, I felt it suggested a sense of the past, and I thought of  the lyrics to “Yesterday” as a set of text. The lettering style is just something I had been playing with recently, and wasn’t chosen for any special reason.

This actually violates one of my usual practices, in that I try to avoid using copyrighted text – but since I have no plans to sell this piece, perhaps the Beatles lawyers won’t come after me. The original sketch was just done on white inkjet paper. I scanned a piece of banana fiber paper and then overlaid the sketch in Photoshop to give it a little more texture, and more of a finished appearance.

The books I’ve been reading, by the way, are Bert Dodson’s Keys to Drawing with Imagination, and Trudy Friend’s Artist’s Complete Problem Solver.  Both are full of examples and suggested exercises – good resources for a person like myself with relatively little formal art training.

Zen stones revisted

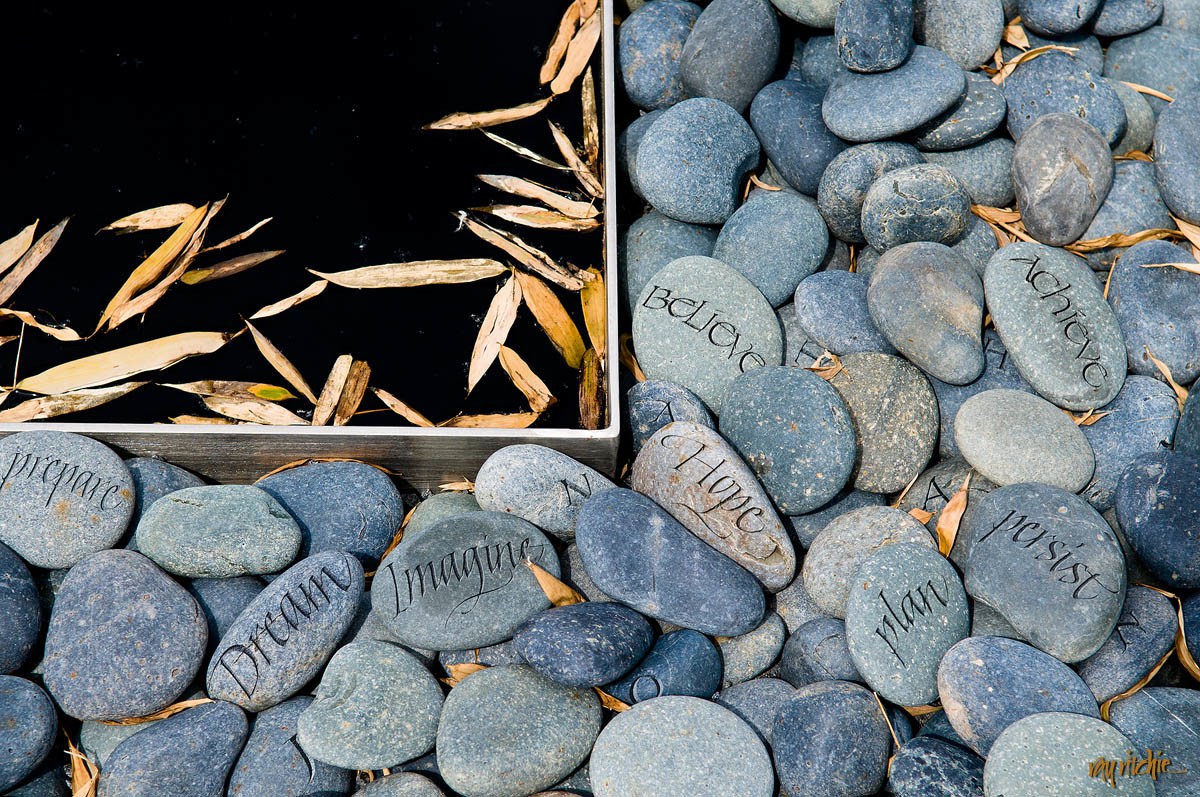
Some time ago, I made a post about “Image Seeking Word,” and asked for some thoughts about what words might be appropriate. During the Christmas season, someone who had seen the blog came to me and asked if I might make a customized version of that image for her son. She suggested that words like “Dream” and “Imagine” might be used, but asked that I pick some more of my own. Here’s what came out of that project:

The letters of the name of the recipient, “Jonathan,” are also sprinkled among the stones. Each word was written separately in black gouache, then scanned into Photoshop, and re-sized and warped to fit the contours of the stone, before finally being “etched” (using the Bevel and Emboss tools), so there’s a fair amount of work involved in using this many words, but I enjoyed it, and learned a lot in the process. I’ve since done a similar version, with a different name, for another customer.

I’d be interested in getting your feedback and further ideas about words for the image.

Play what’s not there

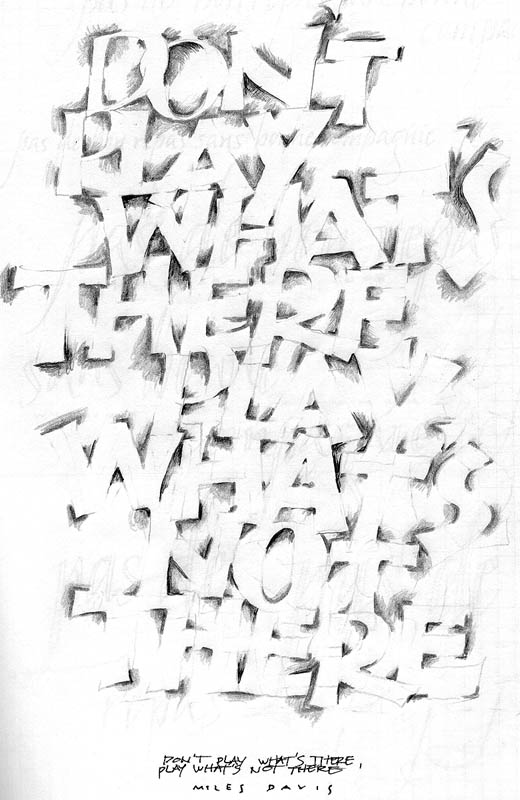
As another example of pencil calligraphy, here’s a page from one of my journals, featuring a quote from Miles Davis:

Miles was one of my early jazz idols. I started playing the trumpet when I was about 8 years old, I think, and in my high school days played several hours a day. I continued to play through college in marching band, concert band, and orchestra, and even during my working career in engineering I continued to play in a jazz band at Bell Labs for many years. These days, I’m more of a several hours a month player, playing mostly seasonal special music for our church with one of my good friends.

Skilled calligraphers learn to do their lettering not just by looking at the forms of the letters themselves, but also looking at the “negative space” inside the letters and between the letters and words. I think this is something like what Miles Davis may have been saying in his quote – music isn’t just the notes, but it’s also the space between the notes, and the interpretation which can’t be written in musical notation.

The last week or so I’ve been thinking about yet another aspect of negative space and “what’s not there.” My mother has been in the hospital for cancer surgery, having had a large tumor removed, and while she seems to be recovering well, this has started me thinking about all that becomes missing in our lives as we age. Anita and I have each lost a parent in the past 9 years, and I’m now old enough that friends of many years are starting to exit the stage; one good friend succumbed to cancer this past October. I was thinking about how we keep all these people alive in our lives and our memories, and the quotation above came to mind – we have to “play what’s not there.” We mourn our losses, of course, but I think it’s much more important that we honor those we have lost by thinking of how they lived, and, when we can, acting as they would have acted and living as they taught us. If we keep our eye on those negative spaces as we draw our own lives, we can create a beautiful unity between what once was, and what still is, and what can be.

Oregon Coast part 2 and back to Seattle

Wow – it’s been over a month since my last post! I’ll spare you my weak excuses, and just say that I’ll try not to do that again.

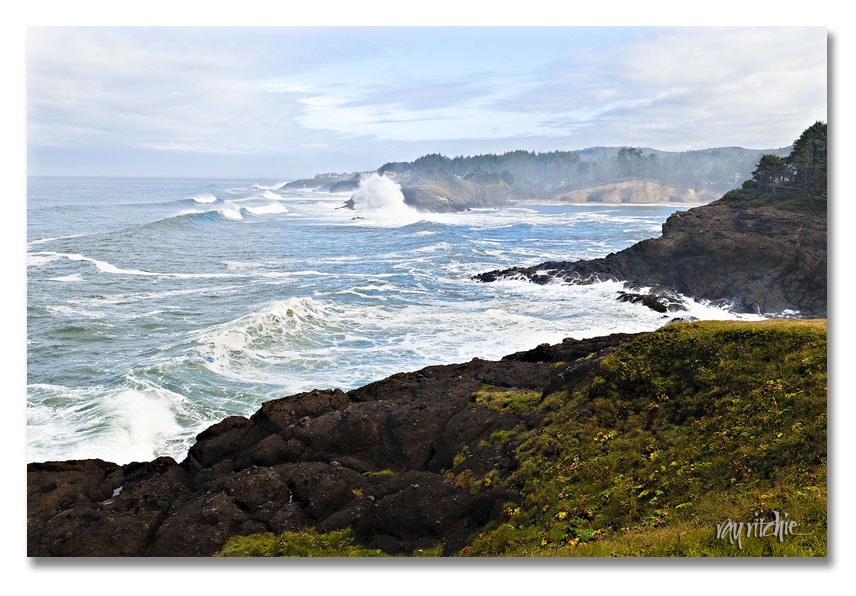
I wanted to wrap up the northwest coast trip photos with just a few more of my favorites. After leaving Newport, we continued north on Highway 101, and began to see impressive examples of the power of ocean, as we approached Boiler Bay. Here’s an example:
As we moved further north, Rte. 101 bent inland, and it began to look as though our incredible luck with the weather was running out. A side trip to Cape Lookout gave us only a view of mist and fog, so we returned to 101 and entered Tillamook County, which our guidebook said has the highest rainfall in Oregon (80-90 inches annually, with some spots as high as 200 inches). Just as we saw the “Welcome to Tillamook County” sign, it began to rain, and we drove through the dairy farming valleys under a steady downpour. We had been advised that we should stop at the Tillamook Cheese factory (“ice cream to die for,” was how my Internet contact put it), and somehow, as we entered the town of Tillamook, the sun came out again. We turned our backs on the Heart Association for a delicious lunch of macaroni and cheese followed by ice cream, and then continued on to Cannon Beach and Ecola State Park. The latter was my favorite spot of the trip, and even though we found ourselves running out of time and energy, after a long drive down a single-lane road, we made our way to Ecola Point, where I also got my favorite shot of the trip (if you click on the image, you’ll be taken to a larger version than I usually post):
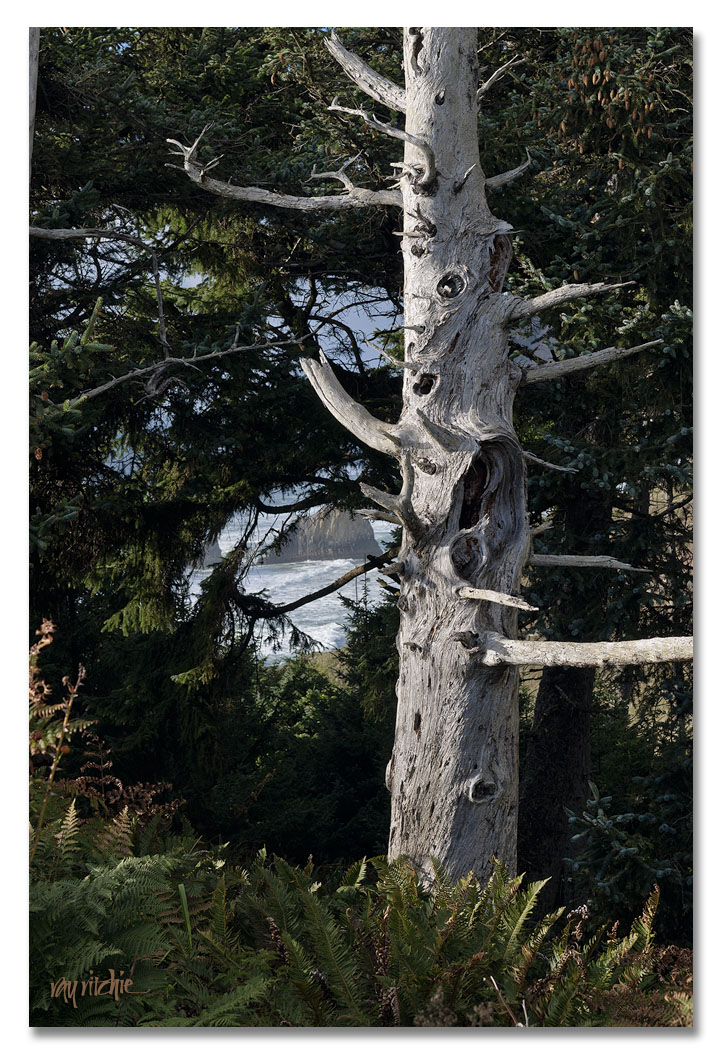
I loved that shot for the old tree, the ferns, the redwoods in the background (note the small cones in the upper right), the great light, and especially for the little window through the trees, showing the rocks in the ocean. For me, it was almost a perfect summary of our coastal tour experience. By the way, I have made 12×18 prints of this shot, and it holds up very well to enlargement – if you’re interested in a print, drop me an e-mail (see the contact page link at the top of this page).

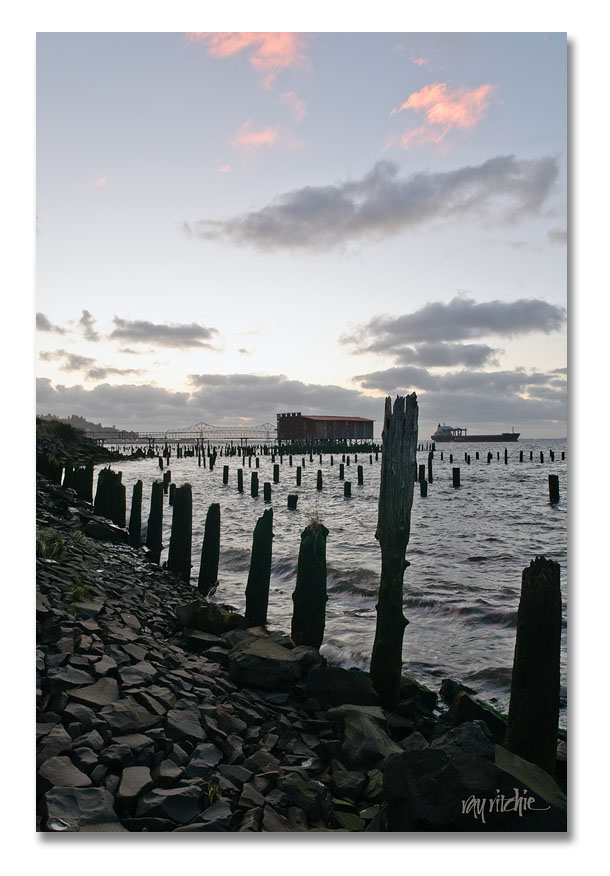
We had thought we’d spend the night in Seaside, just on the other side of Ecola State Park, but there was a convention in town that was tying up most of the hotel space, so we decided to go on to Astoria for the night. We found a room right on the banks of the Columbia River, so close to the fishing docks that we were serenaded all night long by barking seals, who apparently like to sleep on the floating gangways where the boats tie up. I watched the sunset over the river, looking out towards one of the few remaining buildings from the hundreds of canneries that operated in Astoria before the salmon were overfished almost to extinction:
And the next morning I was able to see the seals clearly amid the boats:
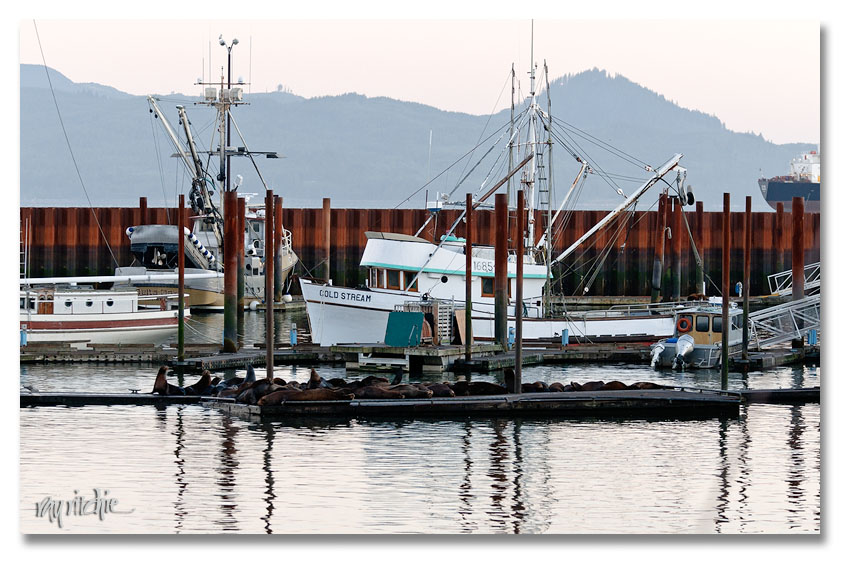
I couldn’t figure out the rules of the seal union. Both late at night and early in the morning, it was clear that most of them were sleeping away like sacks of potatoes, but at least a few were always barking. So maybe they work in shifts? How does a sleeping seal know when it’s time to get up and start barking? Does the seal on barking duty just go over to a sleeping seal and nudge it awake? Do males and females share this obligation equally?

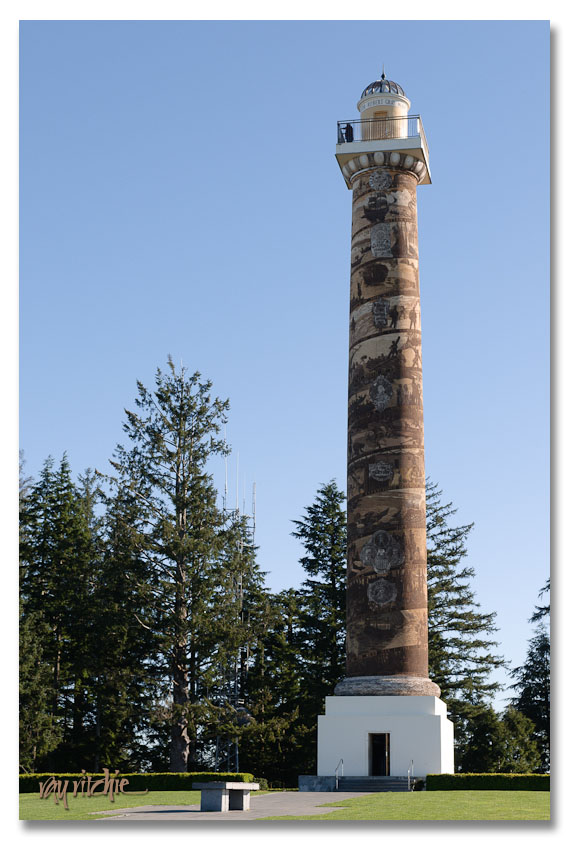
Our AAA guidebook listed Astoria Tower as a “gem,” and compared it to the famous Trajan Column in Rome. Since Trajan’s column is a treasured icon to calligraphers (the inscribed letters on the column are considered the most perfect examples of classic Roman caps), I felt we had to check it out. Calligraphically, it was disappointing, as the letters were nothing to brag about, but the artwork spiraling up the column, which tells the story of the settlement of the Pacific Northwest, was interesting, and from the viewing platform you can see a 360-degree panorama of the Columbia River area:
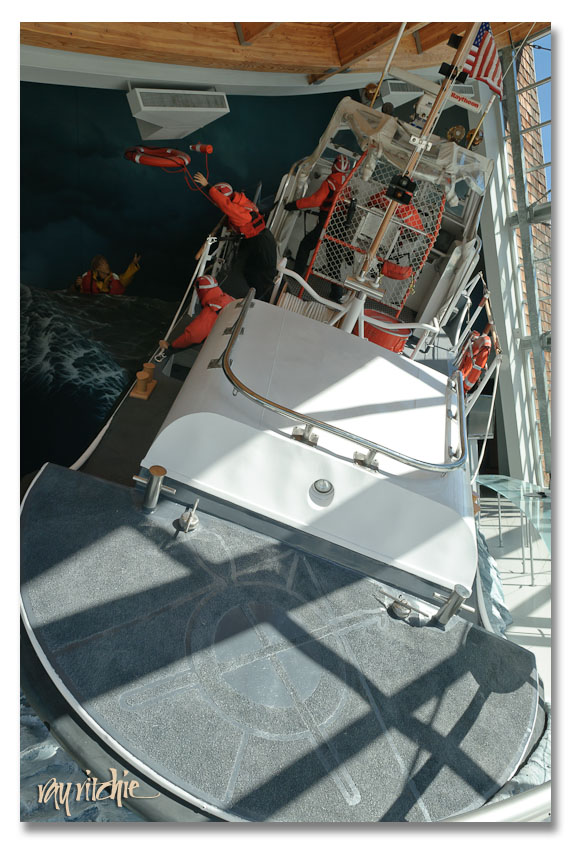
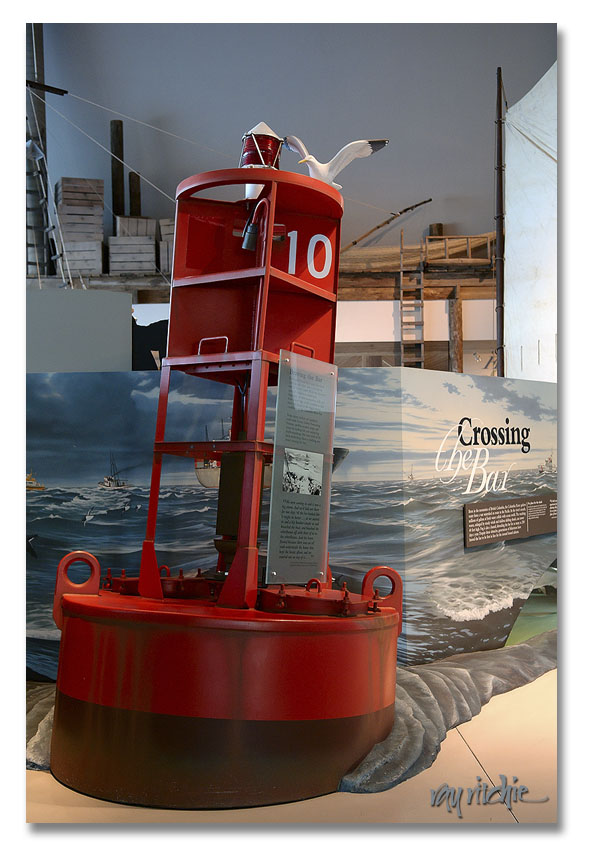
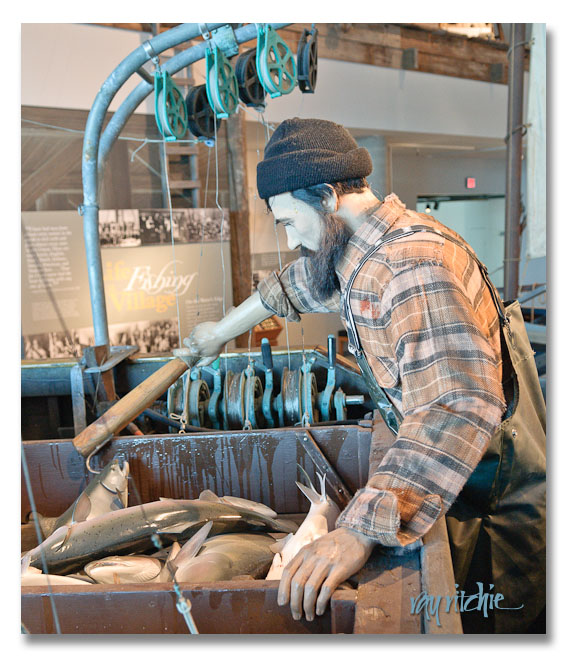
Our favorite spot in Astoria turned out to be the Columbia River Maritime Museum, which I suspect we might never have discovered, had it not been just down the street from our hotel. It’s right on the river, and has real Coast Guard lightship and rescue boats which can be visited, and fascinating videos about the Columbia River Bar pilots (who know the river so well that they can draw a map including every sandbar entirely from memory), showing them boarding the incoming and outgoing freighters by jumping from the pilot boats onto a rope ladder tossed over the side of the ship. The “bar,” we learned, is the area at the mouth of the river where the tides of the Pacific meet the outflow of the river, leading to swells which can be in excess of forty feet. The river is so hazardous in this area that more than 2000 vessels have been lost since record-keeping began. Here are a few shots from the museum:
If you’re in the Astoria area (and why not, since that’s where “Goonies” was filmed ;-) ), this little museum is well worth your time.

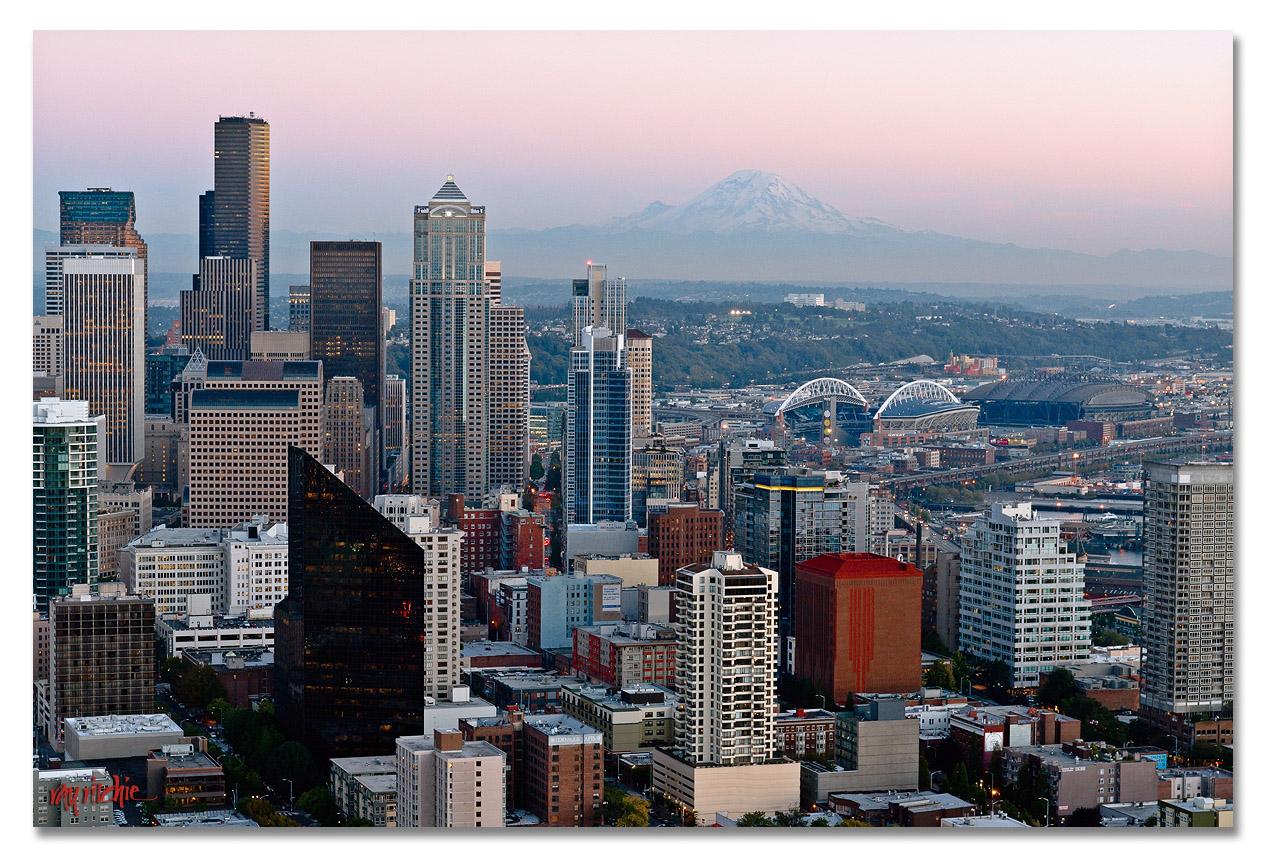
After our visit to Astoria, we returned to Seattle for our last two nights, and got in a visit to Pioneer Square and a trip to the top of the Space Needle for a sunset view. I’ll end this travelogue with this view of the city (click on the image for an larger version):
It was a great trip – can’t wait to go back.

Oregon Coast – part 1

It’s not really very far from Grants Pass to the Oregon coast, but Rogue River National Forest lies in the way, and there are few good (that is, fast) ways through the forest, so we swung south and skirted the National Forest via the Redwood Highway (Rt. 199). This actually takes you a little way into California, but it only took about three hours, and it brought us into Oregon at the absolute southwest corner, which meant that we were able to follow the Coast Highway (101) all the way from the southern border to the Columbia River. And we got to see redwood trees growing right up against the side of the road as we entered California!

In terms of this trip, we took a relatively laid-back pace and gave ourselves three days to make it all the way up the coast.  I was fascinated by what we saw, and could easily have spent several days at any number of the spots we visited. We overnighted at Gold Beach, Newport, and Astoria. Some of my favorite places along the way included Harris Beach State Park, Meyers Creek Beach and Pistol River State Park, Haceta Head, and Ecola State Park, but these few names don’t do justice to the dozens of beautiful viewpoints and parks we visited. Rather than give a detailed commentary, I’ll just show a few photos to hit some of the highlights.

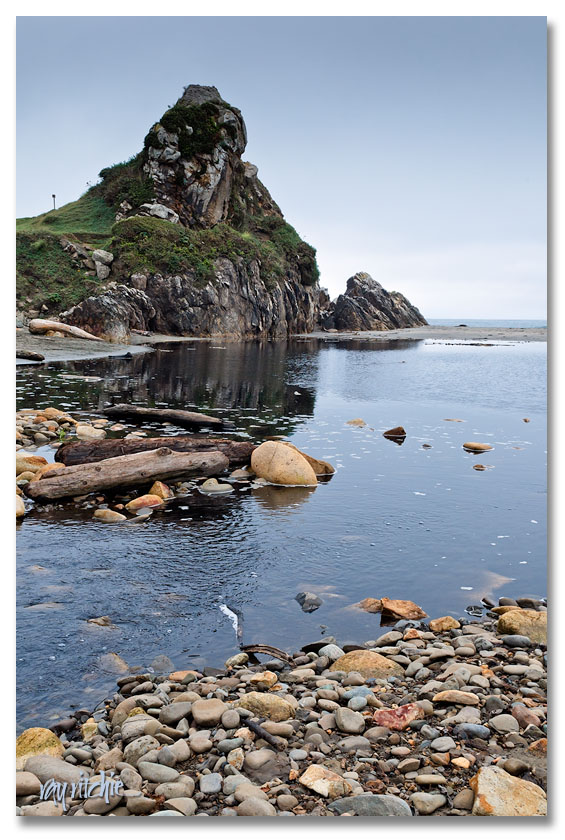
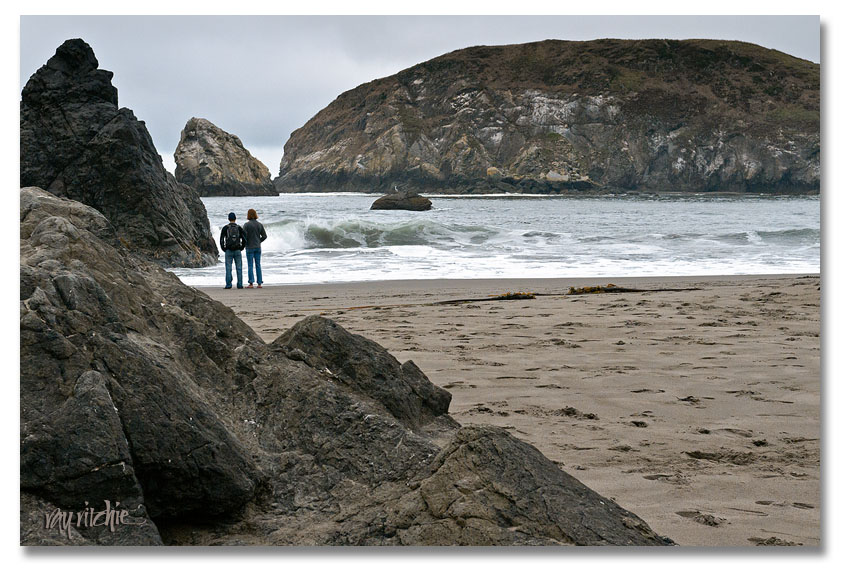
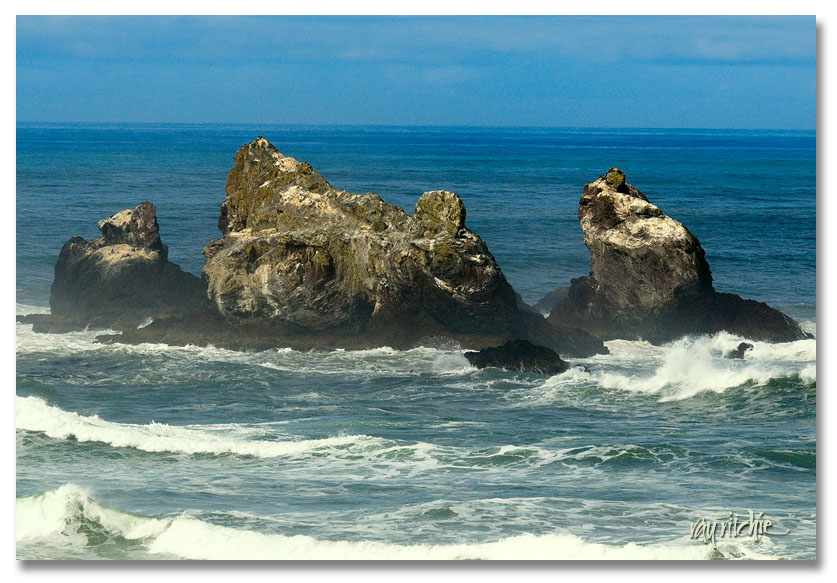
Harris Beach State Park was our first stop, and our introduction to the seastacks, rocky beaches and cliffs, tidal pools, and mountainsides that met the sea:

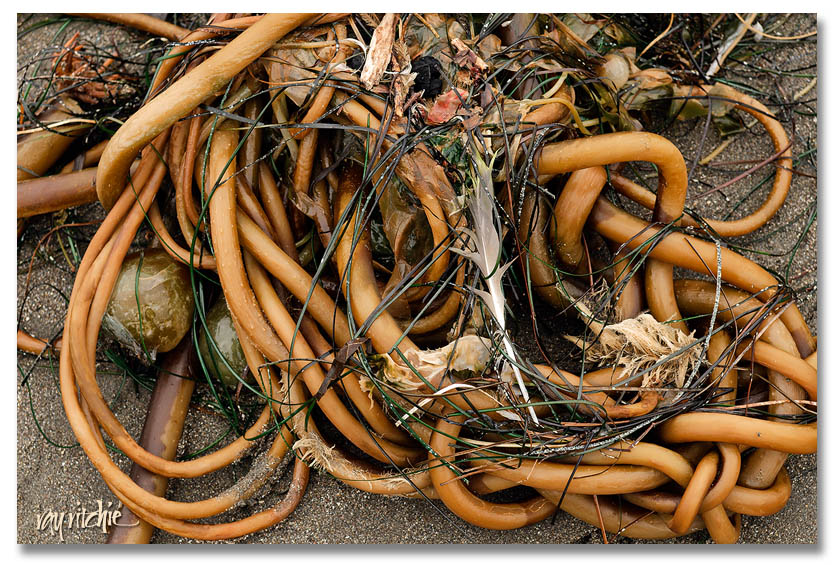
“Kelptic” knotwork was everywhere:

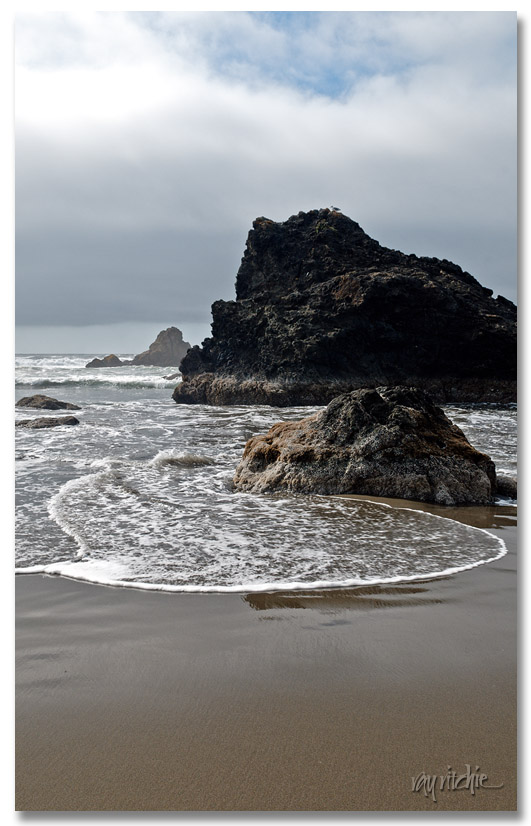
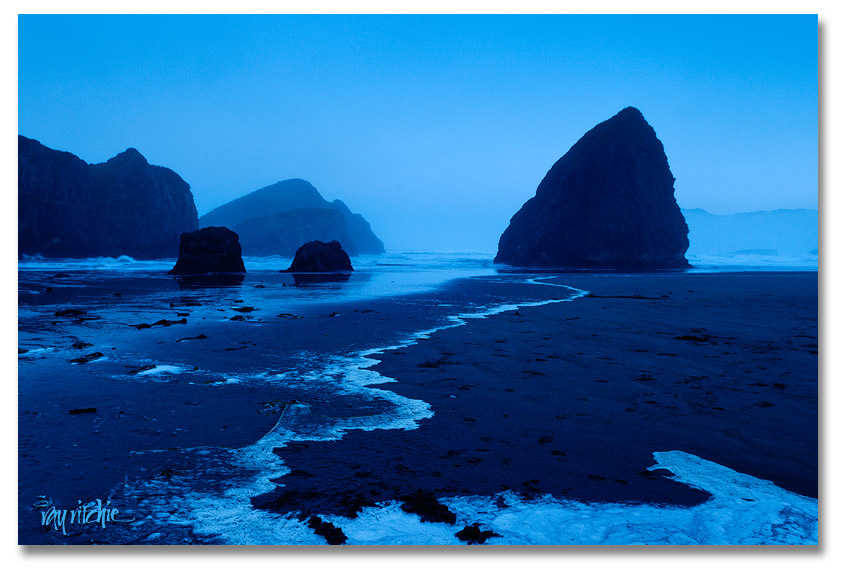
We spent our first night on the coast at Gold Beach, just a few miles north of Meyers Creek Beach in Pistol River State Park, and I got up early the next morning to shoot some sunrise shots there. Here’s one of my favorites:

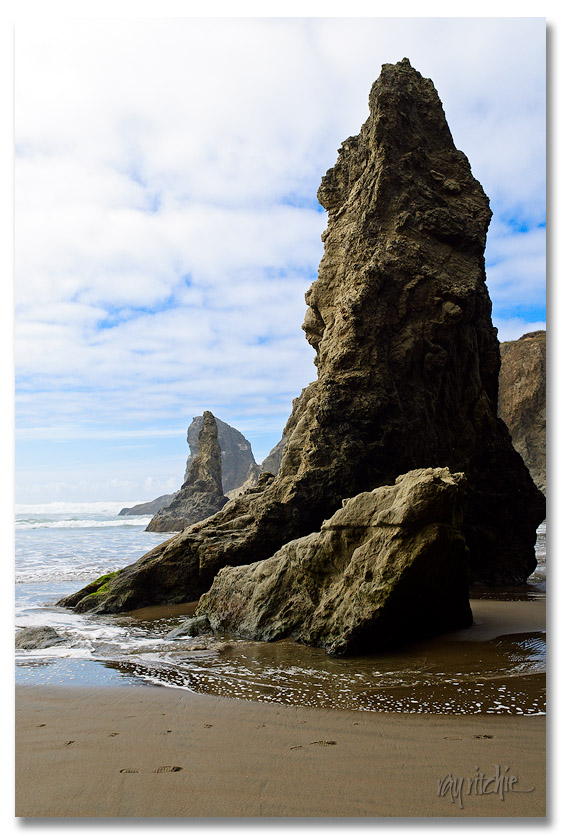
We moved on up the coast to Bandon Beach, and each new area of seastacks seemed more fascinating than the last to me.

This set of stacks is called the Seal Rocks:

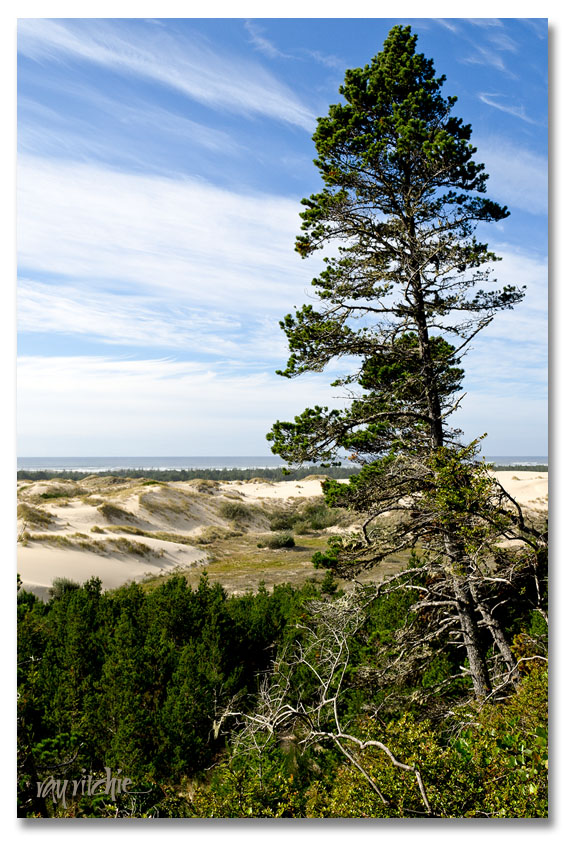
Leaving Bandon Beach, we stopped briefly at one of the two parts of Bandon Dunes National Monument, where the character of the beaches changes completely, from rocky seastacks to pine forest and dunes everywhere:

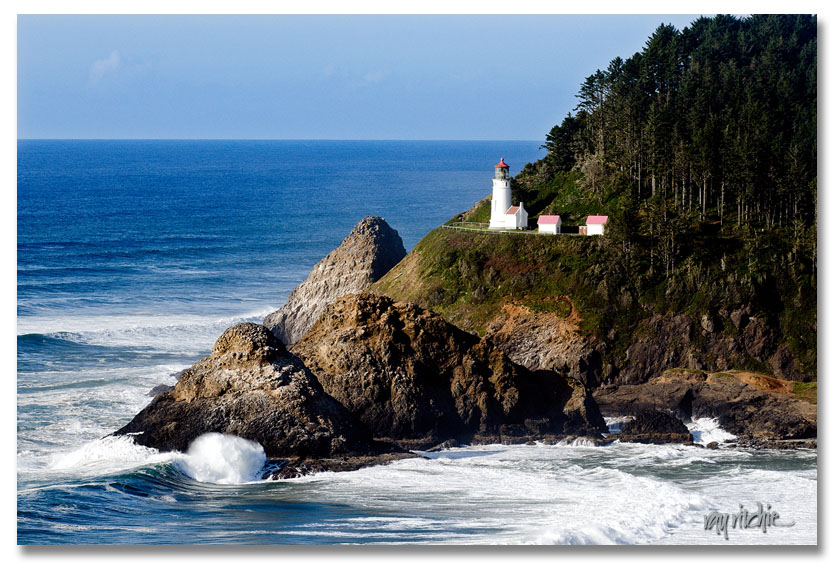
Moving on up the coast, we passed Haceta Head:

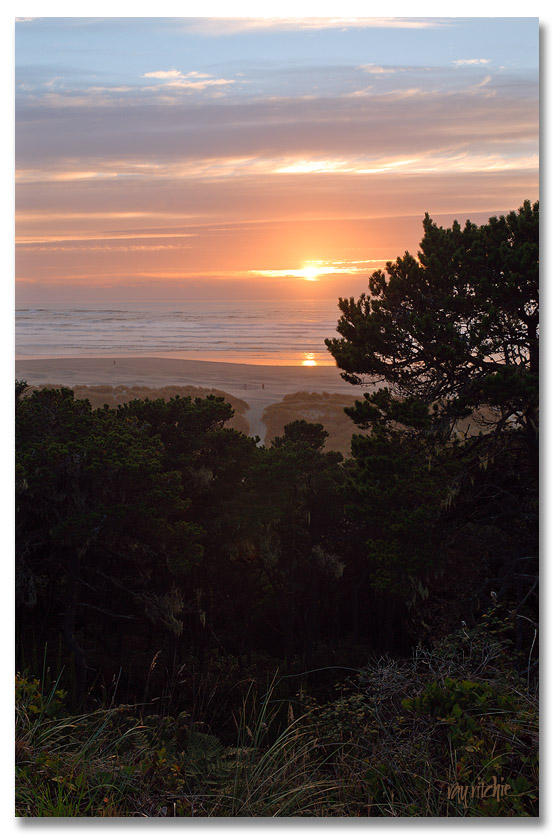
We stopped that night at Newport, and before going out to dinner we went out to Yaquinta Point for the sunset:

I have literally hundreds of shots from this trip, and can’t begin to show them all in blog form, so I’ll put up more on Flickr later. I’ll finish up the trip in my next post, and then we’ll go back to some lettering topics.

Shots from Seattle and Mount Rainier are already up on my Flickr stream (see link at right).