Postcards from Asbury Park (part 2)

I’ll wrap up my discussion of the Sickel lettering design for Asbury Park with a couple of additional examples that show how the broad strokes of this lettering style give us an advantage for photographic effects.

The Old Casino

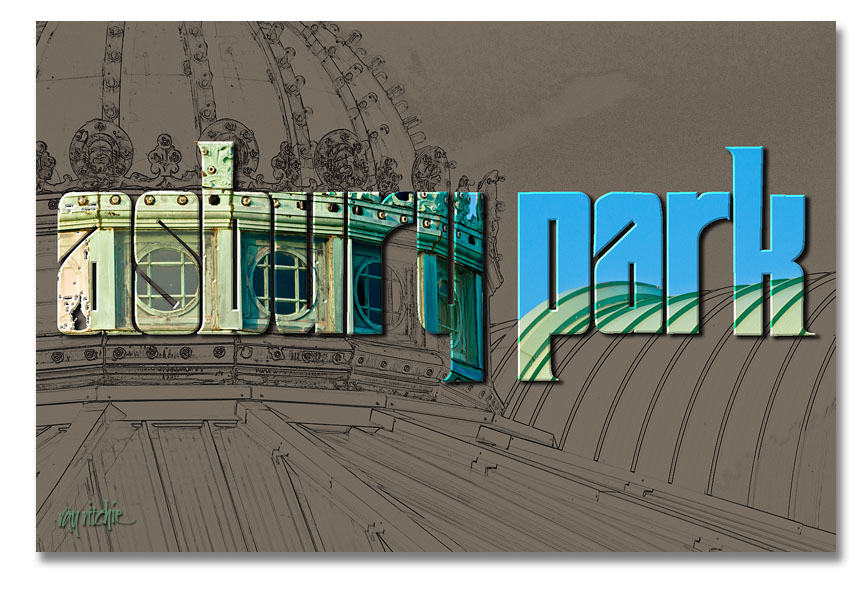
Here I’ve taken one of my photos of the roofline of the old Casino complex and turned it into a line drawing using the Photoshop “Find Edges” filter. I then used the same lettering as in the first postcard (see Postcards from Asbury Park – part 1) as a mask to let some of the color from the original color photo come through.

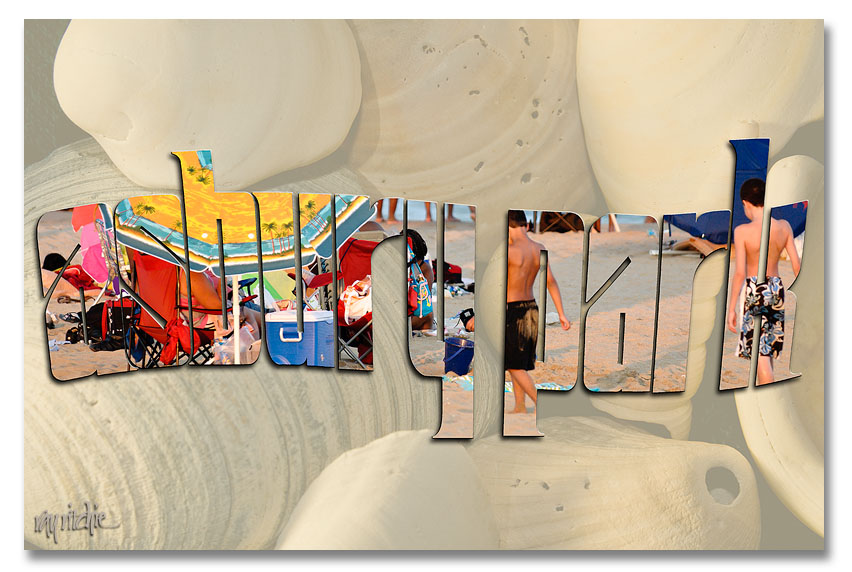
This one, obviously, is two separate photos. The background shell image is from my personal stock library, and the second was a beach scene made during the July 24 Photo Walk. I used a wavy version of the Asbury Park lettering to mask that second photo and layered it over a faded version of the shells.

I could as easily have used a font, rather than designing my own letters for these cards, of course. A font like Arial Black would also give me nice heavy strokes, but it wouldn’t be as distinctive – someone else could easily produce the same look. The combination of my own lettering with my photos gives the cards a unique look that hopefully would distinguish them from others on the rack.

I’ll have to decide now whether to actually do a commercial print run of any of these – it’s probably too late in the summer vacation season to do it for this year – if you have a favorite, please use the comment button or the contact form to let me know.

Postcards from Asbury Park (part one)

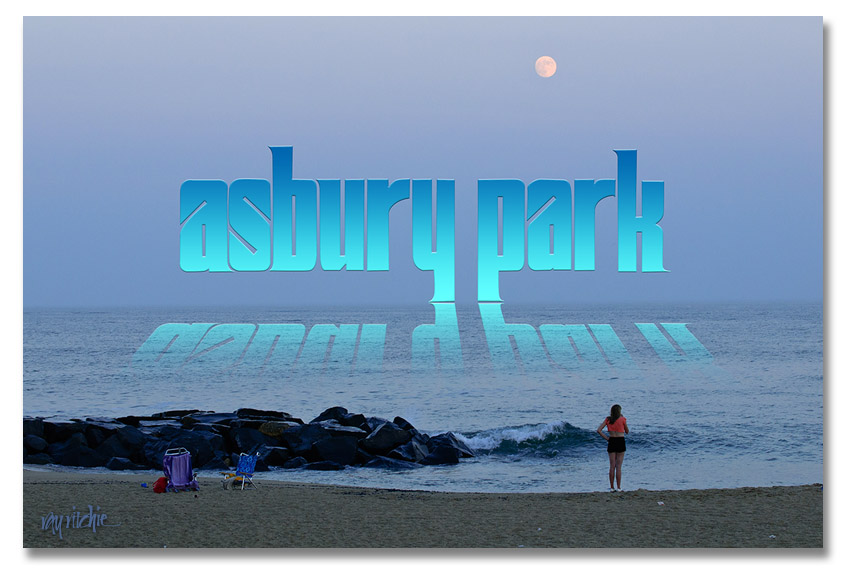
Continuing with the previous post on lettering (More on Lettering and Calligraphy), I promised to give some examples of how the draft versions of the Sickel lettering might be used with some of my photos from the Asbury Park photo walk. I decided I would develop a series of postcards, and see which I liked best. Here’s the first example:

The reflection effect was mostly based on an article by Corey Barker in the March 2010 issue of Photoshop User magazine. It involves adding a gradient to the lettering, then duplicating and flippling the duplicate layer to get the reflection, and masking and blending the “reflection” to allow it to blend into the water and disappear as the reflection gets further from the main title. I added the trick of distorting the reflection so that the reflection widens as it gets closer to the viewer.

Doing a self-critique here, I think the Sickel design doesn’t work as well as I’d like for this effect, as the descenders in the “y” and “p” cause the main part of the reflection to be too far from the main title. I might want to change the lettering to an all-caps style, or modify my Sickel design to eliminate these descenders if I were really going to use this design.

More on lettering and calligraphy

To take the exploration of lettering and calligraphy a little further, here are a few examples I’ve been playing with today.

A few weeks ago, I participated in Scott Kelby’s Third Annual Worldwide Photo Walk, an event in which groups of 50 or fewer photographers get together at sites all around the world and take photos for a couple of hours. My local walk was held in Asbury Park, New Jersey (the town where Bruce Springsteen and Jon Bonjovi first made names for themselves as rock musicians). A few of my photos can be seen in my photostream here. Since that time, I’ve been thinking of making some kind of poster, T-shirt, or other graphic with one or more of the photos – but I need some lettering that says “Asbury Park.”

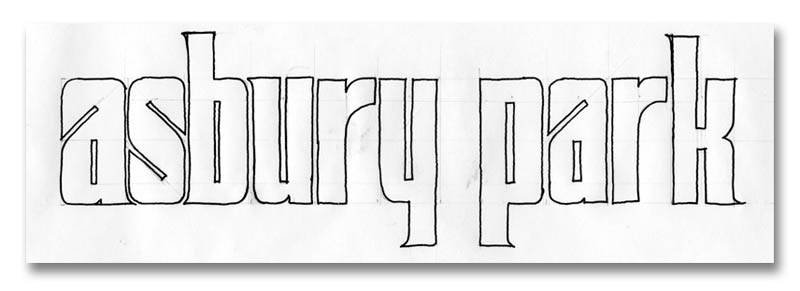
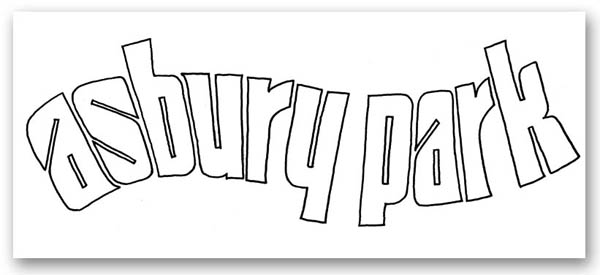
Here’s a sketch for a possible base design, just as it came off my drawing board:

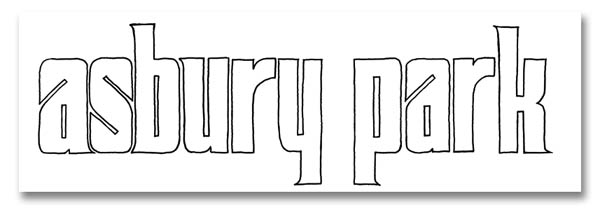
This is a variation of a style of lettering known as “Sickel,” which has been recently discussed on cyberscribes. Note the pencil lines – the design is drawn based on geometric proportions, and then quickly inked in with a pen. After a little cleanup in photoshop, it comes out looking like this:

And if I want to clean it up further and make it easier to enlarge and distort the letters, I can import that drawing into Adobe Illustrator, and trace it with “bezier curves,” which will get rid of all the little bumps and rough spots in my hand drawing. I like this style of letters for this particular application, because 1) it has a “retro” feel that harkens back to the glory days of Asbury Park in the early 20th century, 2) the wide strokes give me lots of room for graphic effects, including using the letters as a mask that my photos will show through, and 3) it lends itself to manipulation and distortion. Here’s an example of that third point:

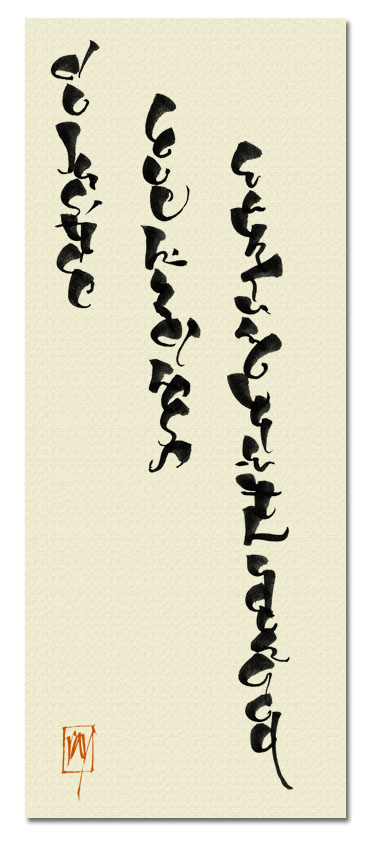
This Asbury Park letter design is an example of what I consider “lettering,” rather than “calligraphy.” It is drawn, rather than written, and will be extensively retouched and manipulated before I reach the final version. As a contrasting example of “calligraphy,” here’s a design based on something I discovered in my inspiration files last night:

This lettering was written with a brush, and I was deliberately playing with the brush characteristics, trying to see if by exaggerating the thicks and thins, and stacking the letters, I could get something that resembled an oriental script. In this case, I haven’t manipulated the original letters at all – I just layered them over a textile background in Photoshop, and added a “chop” in a typical orange-red. The text, in case you can’t read it, is from Micah 6:8: “And what does the Lord require of you, but to do justice, to love kindness, and to walk humbly with your God?”

Next, I’ll try to show an example of using the Asbury Park lettering with a photo.